
Step-by-step guide for how to activate and control each feature in the app.
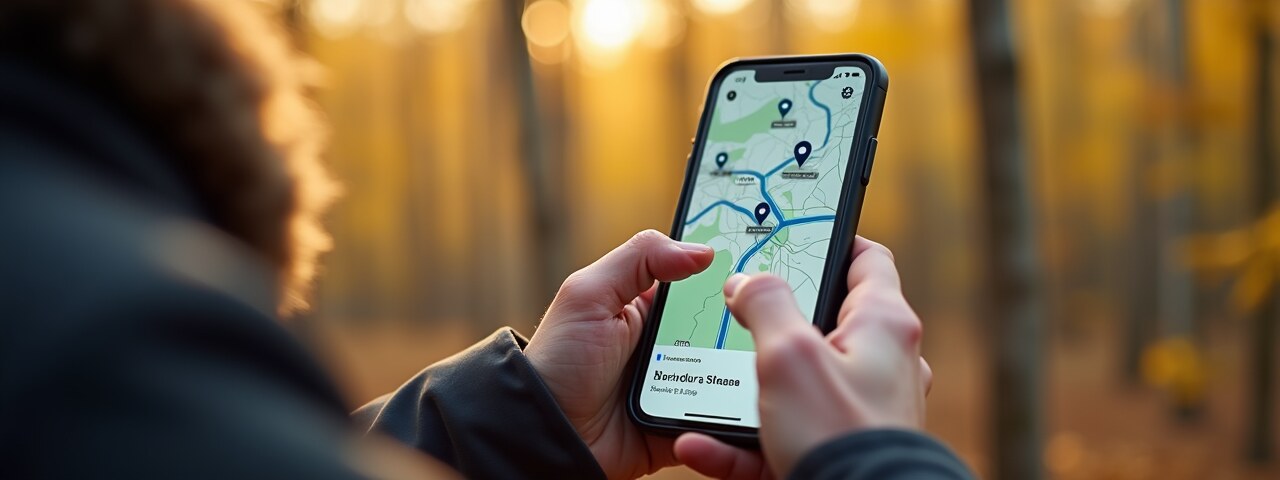
Drag to pan. Pinch in/out to zoom. Double-tap to zoom in on a point.
Tap the location icon (⸻ arrow) at the bottom right to center the map on your position.
Tap a group member's icon or name on the map. The map locks onto that person and follows them automatically. Tap again or pan to unlock.
The compass is shown at the top right of the map. It rotates with the phone's heading. Tap it to reset the map rotation to north.
Tap the cloud icon in the toolbar (🌧) to toggle weather animation. Shows real-time temperature and animated wind arrows on the map.
Tap the search icon (🔍) at the top of the app. Type an address or place name. Tap a search result to move the map there.
Tap the map layers icon at the top right of the map (the round icon with stacked squares) → Add custom map. Fill in a Name and a Tile URL in XYZ format — the URL must contain the placeholders {z}, {x} and {y}, e.g. https://example.com/{z}/{x}/{y}.png. The map then appears in the list under Custom maps and can be selected just like the built-in maps.
Geo-Harbor no longer ships a satellite map by default, because the free tier of Esri's map service has terms of use that do not allow it to be bundled and redistributed inside an app. If you add your own map source here, it is your responsibility to make sure that service's terms allow your use of it.
Name: Satellite. URL: https://server.arcgisonline.com/ArcGIS/rest/services/World_Imagery/MapServer/tile/{z}/{y}/{x} — note that Esri wants {y} before {x} in the path. Works fine for personal use, but Esri's terms require a licensed ArcGIS developer account for heavier or commercial use. Read Esri's terms of use before sharing an app that points to this service.
Name: Light map. URL: https://a.basemaps.cartocdn.com/light_all/{z}/{x}/{y}.png — a minimalist, light-coloured map that is free to use with attribution to OpenStreetMap and CARTO. A good option if you want a simpler background without Esri's restrictions.
Not at the moment. In the app you pick one map image at a time under Map layers — adding a satellite map and a road map as two separate, toggleable layers is not supported yet. It also would not solve the licensing question: Esri's road data (World_Transportation) comes from the same service and is covered by the same terms of use as the satellite imagery, whether it is shown as its own layer or not.
Long-press any location on the map for about one second until a dialog opens. Choose an icon (e.g. tent, parking, warning), write a short description. You can also add a photo with the camera button. Tap Save.
Tap a marker on the map to see name, description, creator and any photo in a card at the bottom.
Tap the marker → tap the pencil icon (✎) in the card to edit description or icon. Tap the trash icon (🗑) to delete.
Long-press an existing marker until it starts to move. Drag it to a new position and release.
Open the hamburger menu (☰ three lines top left) → tap Switch group. Select a group from the list. You can also delete saved groups with the trash icon.
Hamburger menu → Manage group. Shows all members with online/offline status. As owner you can remove a specific member with the trash icon next to their name.
Manage group → Invite. Enter the email address of who you want to invite. They receive an email with a link that automatically fills in the group code.
As owner you receive a notification when someone applies. Hamburger menu → Manage group → Pending → approve or decline with the buttons.
Hamburger menu → Manage group → Leave group. Confirm in the dialog. If you are the owner and there are other members, ownership is automatically transferred to the next person.
Hamburger menu → Profile → change nickname → Save. The change is visible to others in the group immediately.
Open Geo-Harbor or Geo-Harbor Eternity on the watch. The watch shows a 6-digit pairing code because it is not yet paired with a phone.
Hamburger menu (☰) → Profile. Enter the code under the heading Pair watch with pairing code near the bottom of the dialog and tap the button next to the field.
The watch receives the phone's identity and then automatically fetches the active group, members and positions through the phone — no further login is needed on the watch.
Hamburger menu → Property → Import GPX. Select a GPX file from your phone. The app shows the number of points found and draws a preview on the map.
Tap Import and save in the dialog. The boundary is saved and shared immediately with the whole group — everyone sees the boundary on the map without having to import the file themselves.
Hamburger menu → Property → Draw property boundary. Tap the map to place points along the boundary. At least 3 points are required. Tap Save when done. Tap Clear to start over.
Hamburger menu → Property → Draw property boundary → long-press an existing boundary on the map to select and delete it. Alternatively: tap Clear to remove all boundaries.
Good sources for GPX files with land boundaries: the Swedish land registry map service (lantmateriet.se), Jaktmarker, or mapping apps that export GPX. The file can contain track points, route points or waypoints — all formats are supported.
Tap the alarm button (🚨 red bell icon) at the top of the app. Confirm in the dialog. All group members immediately receive a push notification with your name and GPS position.
A red banner appears in the app with the sender's name. Tap the banner to center the map on the alarm position. A pulsing marker is shown on the map.
Tap the alarm button again (now red/active). Confirm cancellation. The banner and marker disappear for everyone.
Hamburger menu → GPS settings. Here you choose mode and can turn GPS tracking on/off completely.
Recommended for all-day background tracking. Uses network-based positioning without waking the GPS chip. Position is only sent on movement > 100 m — nothing is sent when you are stationary. Best for battery life.
A good compromise for everyday use. FLP stream using GPS, WiFi and cell towers. Position updates on movement and GPS stream pauses automatically when stationary.
FLP stream with GPS chip active. Automatically adapts the displacement threshold to activity: 10 m walking, 30 m cycling, 50 m in vehicle. Pauses automatically when stationary. Use for hiking, hunting or cycling.
In GPS settings: turn off the Share position toggle to pause. You remain connected to the group and can see others, but your position is not sent.
Hamburger menu → Statistics. Shows a list of your recorded activities grouped by day.
Tap an activity in the list. A map shows the recorded route along with distance, average speed and top speed.
The app automatically identifies: on foot 🚶, cycling 🚲, in vehicle 🚗. The type is shown as an icon in the activity list.
Open an activity → tap the share icon (⇧) to export the route as a GPX file that can be opened in e.g. komoot or OsmAnd.
Hamburger menu → Notification settings → scroll down to GEOFENCING (PLACE ZONES). Here you see your zones and can add new ones with the + button.
Tap + to open the dialog. Enter a name (e.g. Home or Stable). Choose the center point — either your current position or the map center. Adjust the radius with the slider (10–5,000 m). Choose whether to be notified on arrival, departure, or both. Tap Create.
Created zones are drawn as translucent circles on the map. You can have multiple zones active at the same time.
Tap a zone in the list to open the edit dialog. Change name, radius or notification settings and tap Save.
Tap the trash icon next to the zone in the list. The zone is removed immediately and the circle disappears from the map.
The server monitors zones continuously and sends an FCM push notification via Firebase when a group member crosses into or out of a zone — works even when the app is closed. The notification shows the person's name and the zone's name. Each zone can be configured independently for arrival, departure, or both.
Your zones are saved on the server and restored automatically if you reinstall the app — as long as you log in with the same email address.
Hamburger menu → Notification settings. Here you turn each type of notification on or off separately.
New group member, Marker added, Emergency alarm, Removed from group, Geofence zone crossed, GPS off (reminder), Rain warning. Each type can be toggled individually.
At the bottom of notification settings there is an option to mute all notifications without changing individual settings.